Implementation of LAT accreditation for calibration of click-type and/or direct reading torque wrenches and screwdrivers according to UNI EN ISO 6789:2017
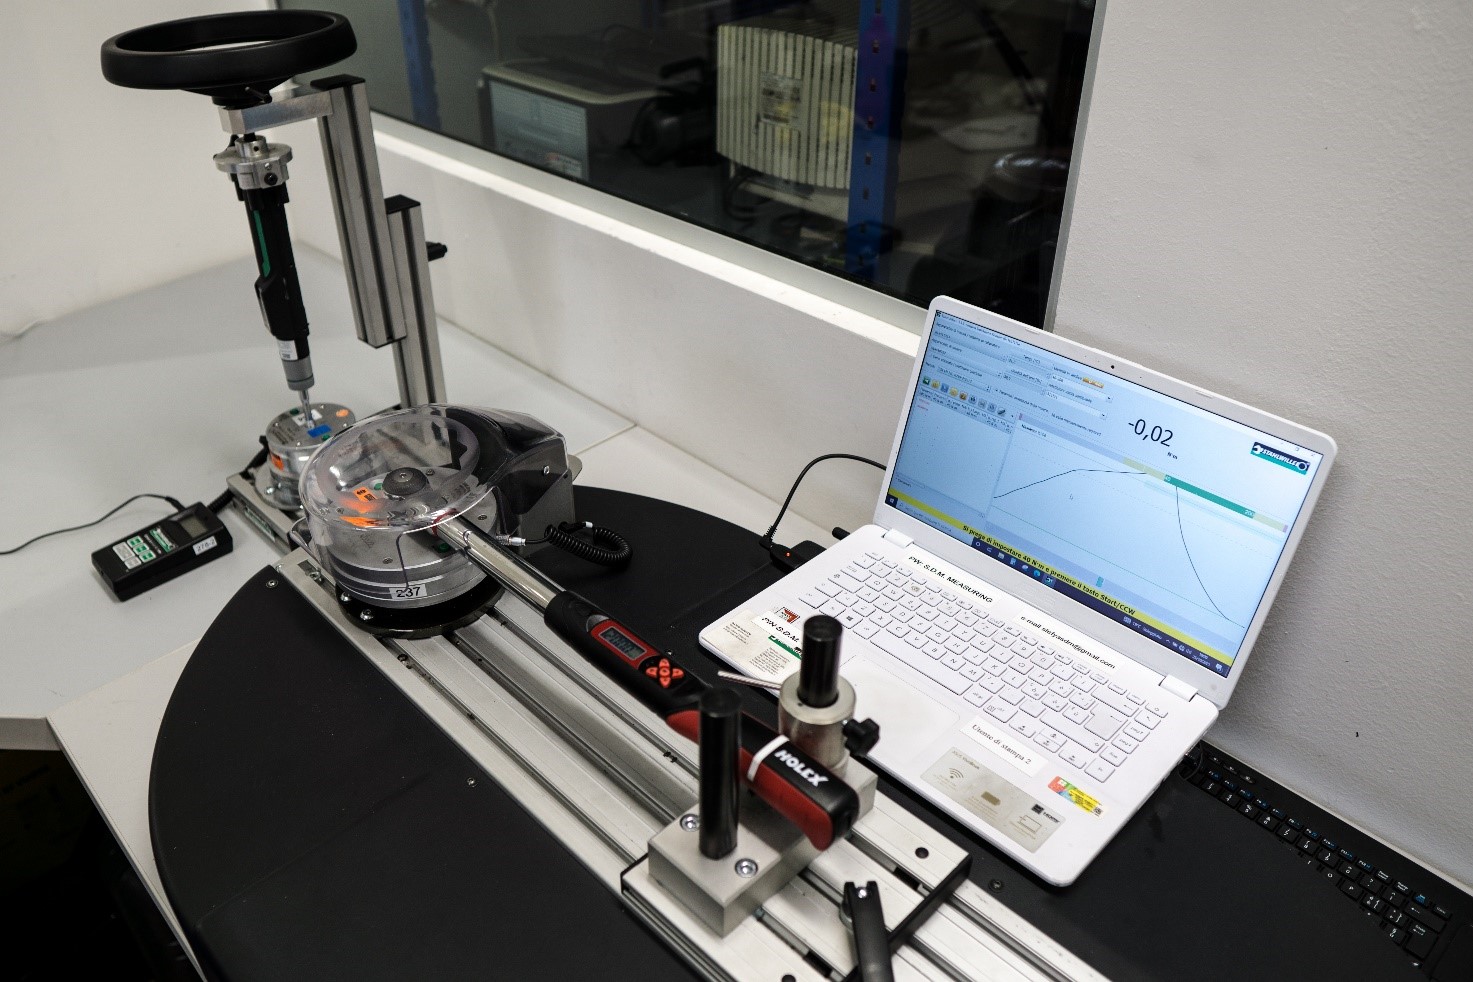
Last October, S.D.M. Measuring Instruments implemented the LAT accreditation for calibration of click-type and/or direct reading torque wrenches and screwdrivers according to UNI EN ISO 6789:2017.
For such equipment, the recommended calibration according to EN ISO 6789 amounts to 12 months or 5,000 tightening works, unless the user needs a smaller range.
The standard UNI EN ISO 6789:2017 is the new reference that replaces UNI EN ISO 6789:2003 and introduces several new verifications, to be carried out in order to characterise the equipment in the most accurate way.
One more difference (compared to the previous version) which we would like to point out concerns the calibration points where we carry out our tests: before, measurements were made at 20%, 60%, and 100% of the maximum torque, whereas now the lowest torque value stated on the graded scale should be used as first measuring point, or, in the absence thereof, the lowest point in the measurement range indicated by the manufacturer, while subsequent measurements are still made at 60% and 100% capacity.

S.D.M. Measuring Instruments has implemented the new regulation and assists you in certifying your dynamometric equipment, thus ensuring its compliance with the new requirements.
As can be easily understood, the introduction of the new regulation significantly increases the number of required operations, which currently ranges from 115 to 135 measurements.
Now let us get into deeper detail to better understand where such high values come from.
Let us start by saying that, for the points stated above (lower limit value, 60% and 100% capacity), measurement is repeated as follows:
- 5 times for type-1 torque tools and for type-2 torque tools of class A, D, G;
- 10 times for type-2 torque tools of class B, C, E, F.
Upon client’s request, more measurement points can be added.
Moreover, 4 test types are carried out, depending on wrench/screwdriver classification, on the interface between the measured unit and the torque bench, on the output drive geometry, and on the force loading point. Let us take a look at them.
In reproducibility tests (brep), 4 measurements cycles are carried out at the measurement range minimum value. The following measurements are carried out for each cycle:
- 5 measurements for type-1 torque tools and for type-2 torque tools of class A, D, G;
- 10 measurements for type-2 torque tools of class B, C, E, F.
If an output drive is used, additional measurements should be carried out in order to determine the variation due to its geometric effects (bod):
- 4 cycles of 10 measurements, at the measurement range minimum value, for square drive outputs;
- 6 cycles of 10 measurements, at the measurement range minimum value, for hexagonal drive outputs;
Here is a series of measurements to determine the variation due to geometric effects of the interface between the output drive of the torque tool and the calibration system (bint):
- 4 cycles of 10 measurements, at the measurement range minimum value, for square drive outputs;
- 6 cycles of 10 measurements, at the measurement range minimum value, for hexagonal drive outputs;
On torque screwdrivers, 2 cycles of 10 measurements are carried out to determine the variation due to the variation of the force loading point (bl).
In compliance with the new regulation, S.D.M. Measuring Instruments guarantees that your certificate shall contain a declaration of conformity certifying the test results, which allows you to obtain useful information about the operation of the equipment.
For further information about our calibration uncertainties and the measuring ranges that we can calibrate, please read our calibration services catalogue at the following link


